Affichage des articles dont le libellé est Nail Art. Afficher tous les articles

dimanche 12 août 2012

Tutorial: Duck Nail's!

Here's a little song to listen to while you read the post :) 

So today's Sunday and the day I change my nails. This week I thought I'd do a tutorial instead of a NOTW, so this is what I came up with....


Here's what I used....

  • A piece of paper
  • Eyeshadow sponge
  • 2 Cotton Buds/ Q Tips
  • 3 Dotting Tools
  • Sally Hansen Double Duty Base coat & Topcoat
  • Barry M, Mint Green 
  • Collection 2000 Hot Looks, Lemon Soda
  • Technic Nail Polish, White 
  • Miss Sporty Lasting Colour Pro Brush, Fatal Black 
  • MUA Love Hearts Range, I WANT U 
  • Miss Sporty Clubbing Colours Nail Polish, China Glaze
  • Seche Vite Dry Fast Topcoat
First apply Sally Hansen's Double Duty Base coat & Top coat. I applied two coats for extra protection.


Next apply two coats of Barry M's Mint Green. It doesn't need to be fully opaque as you would be covering 2/3 of the nail with more polish.


Now you can start drawing your Ducks onto your nails.Pour a small amount of Collection 2000's Hot Looks nail polish in Lemon Soda onto the paper.  Using the larger end of the white Dotting Tool make two circles upon the nail, one below the other. Then using the smaller end make a dot the opposite side of the nail.


Still using Lemon Soda, make two curved lines to connect the circles together to make the duck's body like the photo below.


Now fill the shape in, once again using Lemon Soda.


Next it's time to give the Duck's some character. Using the Technic white nail polish, pour a tiny amount on the paper then make a dot using the large end of the pink Dotting Tool, on the Duck's face. Once it's completely dry, using the smaller end of the Dotting Tool, take the Miss Sporty nail polish in Fatal Black and make a dot in the centre of the white one. Taking the MUA nail polish in I WANT U, make a triangle in the middle left of the ducks face, then fill it in. 


Taking the Eyeshadow sponge and the Miss Sporty nail polish in China Glaze. Pour a small amount of the nail polish onto the paper and dip the edge of the Eyeshadow sponge in. Gently sponge the polish onto the nail to give a slight gradient effect. 


Now your almost done, apply a thin coat of Seche Vite's Dry Fast Top Coat. Then taking a cotton bud/ q tip, dip it into nail polish remover and wipe around your nail to remove any access polish. This makes the final look look more tidy.
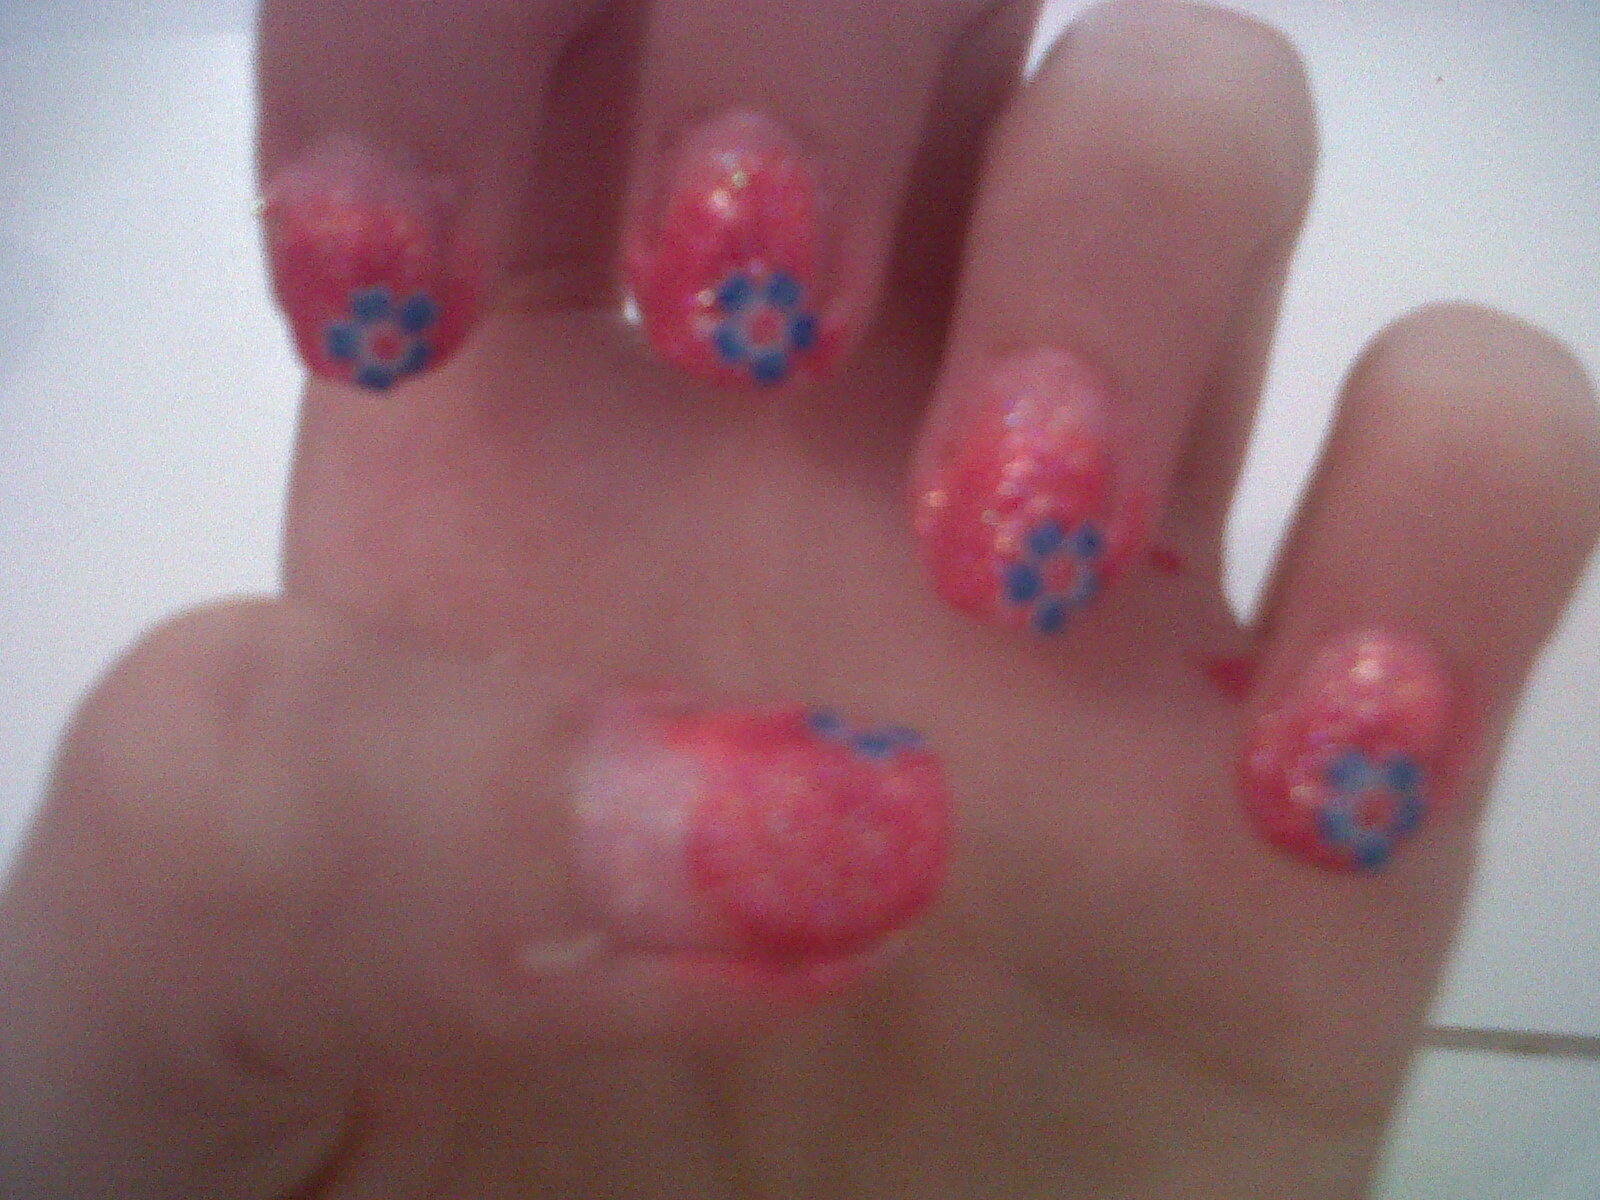
Here's another look at my final outcome....


Thanks For Reading!xxxx
What nail art design should I attempt next week? :)

lundi 16 juillet 2012

NOTW: Pink Ombre And Blue Flowers

So here we have it, another NOTW post. I don't know why but I just love doing these sort of posts, I also love to read them. This week I fancied a bit of gradient nail art/ ombre. I've tried this type of nail art in the past before, and since it was super easy and the final look looked quite cute, I thought I'd do it again. However this time I added blue flower stickers just to jazz things up a bit.


Please excuse the messy fingers, stupidly enough this photo was took before clean up!

I don't think these Ombre/Gradient nails are as well blended as last time, but hey I try my best :) 

Here's what I used...

  • Sally Hansen Double Duty Base coat & Topcoat
  • Seche Vite Dry Fast Topcoat 
  • Barry M, Strawberry Ice cream 
  • Barry M, Pink Flamingo 
  • Barry M, Shocking Pink 
  • Barry M, Pink Iridescent
  • 10 Blue Flower Nail Stickers ( Purchased of Ebay, given to me at Christmas ) 
Thanks For Reading!xxxx

jeudi 12 juillet 2012

NOTW: Jeweled Nailart

If your a loyal reader of my blog, or you follow me on twitter. You will know that there's been no posts from me in the past week or so. July's a bad month for me getting up post's wise, I was away at Paris last weekend and got back Monday. I'm also away again at the end of July. Then today I was at Light water valley.

Anyways... this design was inspired by the 3 pots of nail diamantes waiting to be used. As well as a craving for something different then just a nail polish design. So here's what I came up with....


I didn't exactly release how big the diamantes actually were until i applied them to my nails. The original idea was to completely cover them in diamantes, it looks better in person though.

Here's what I used...

  • Sally Hansen Double Duty Base coat & Topcoat
  • Sally Hansen Insta-dri Anti Chip Topcoat
  • Barry M, Shocking Pink
  • Barry M, Berry Ice Cream 
  • Barry M, Grey
  • Several Nail Diamantes in Lilac, Pink and Sliver 
Thanks For Reading!xxxx

mardi 19 juin 2012

NOTW: Skittle Nail Art

Slightly overdue, I know :(

This week I decided on Skittle's nail art, I've been wanting to try these out for ages but just kept forgetting! So this week after deciding to add a splash of colour to my nails I thought I would finally give them a go. This is my final outcome....


Here's what I used....

Left To Right:
  • Sally Hansen Double Duty Base coat & Topcoat
  • Sally Hansen Insta-dri Anti Chip Topcoat
  • MUA Shade 6 
  • MUA Love Heart Range U&I
  • MUA Love Heart Range I WANT U 
  • Barry M Matt White
  • Barry M Indigo
  • Barry M Cyan Blue 
  • Rimmel I Love Lasting Finish Grassy Green 
I love this design! I originally was going to paint "skittles"  on my thumb but it couldn't fit, so I had to make be  with "skitt" instead. What do you guys think?

Thanks For Reading!xxxx


dimanche 10 juin 2012

Tutorial: Gradient Nails

Hey Guys!
So as you know every Sunday I paint my nails, and this week I thought instead of just doing a NOTW I would do a tutorial on how I did them. This week I thought I would attempt Gradient Nails.

I used....


  • Sally Hansen Double Duty Base coat & Topcoat
  • Sally Hansen Insta-dri Anti Chip Topcoat
  • MUA Love Heart Range Nail Polishes in U&I, I WANT U, U ROK
  • MUA Nail Polish in Shade 5
  • 2 Glitter Nail Art Pens From Ebay in Gold and Blue
  • A Sponge Eyeshadow Applicator 
  • A Sheet Of Paper 
First....


 Apply a clear base coat to protect your nails, I applied 2 coats for maxium protection. I used the Sally Hansen Double Duty Base coat & Topcoat.

Next...


Taking MUA'S Shade 5 nail polish, I applied one coat of  this to 4 of my fingers. Then taking their U&I Shade from the Love Heart Range, I applied one coat of this to the remaining finger. Once all my fingers were dry I applied a second coat.

Then...


 I took MUA's Love Heart Range Shade U ROK, and poured a small amount onto the paper. Then I took the eyeshadow applicator and dabbed it slightly into the polish. Tapping of the excess onto the paper. I then dabbed it up 3/4 of my nails, which were painted blue. I did the same with the I WANT U polish on my nail that was painted yellow. After all my nails were dry, I dabbed more polish onto 2/4 of my nails.

Now...


I took the Blue and Gold nail art pens, and poured some of each onto the paper. Then dabbed a fairly opaque amount onto the tips of my nails, working it up to a more sheer amount. To help add to the Gradient look. I used the gold on my yellow nails, and the blue on my blue nails.
I finally applied a topcoat, I used Sally Hansen Insta-dri Anti Chip Topcoat.

This is how my nails turned out, click the photo to enlarge it.


This is possibly one of my most favourite designs! This look is incredibly versatile, being that you could use any colours. And as many amounts of colours as you want. This is the first time I've tried doing Gradient nails, and they were really easy.

What do you guys think? Have you tired Gradient Nails before?
Thanks for Reading!xxx

lundi 7 mai 2012

NOTW: Cookies, Cupcakes & Chocolate

Hey guys!

This is probably one of my most favourite designs I've ever done, up there with the angry bird nails I did a while back.


The actually reason I did these was for a contest. I got inspired by it's theme, What's Cookin? And decide to do foods that began with the letter "C". So 2 hours later, 2 cotton pads, 3 cotton buds, several polish splattered dotting tools and countless nail polishes later I did that.

I forgot to take a picture of what I used and the list is way to long to type up. So if you want to no the name of a certain polish, or its brand just comment below and of course I will comment back. The brands were a mixture of Barry M, MUA and Sally Hansen.

Oh and the contest this design was made for was Copy That Copy Cat Nails. Here's a link to her blog, check it out its real cool and she's got some A.M.A.Z.I.N.G designs. Don't forget to enter her contest!
http://copythatcopycat.blogspot.com.au/

Thanks For Reading! :) xxx